Audio animation?
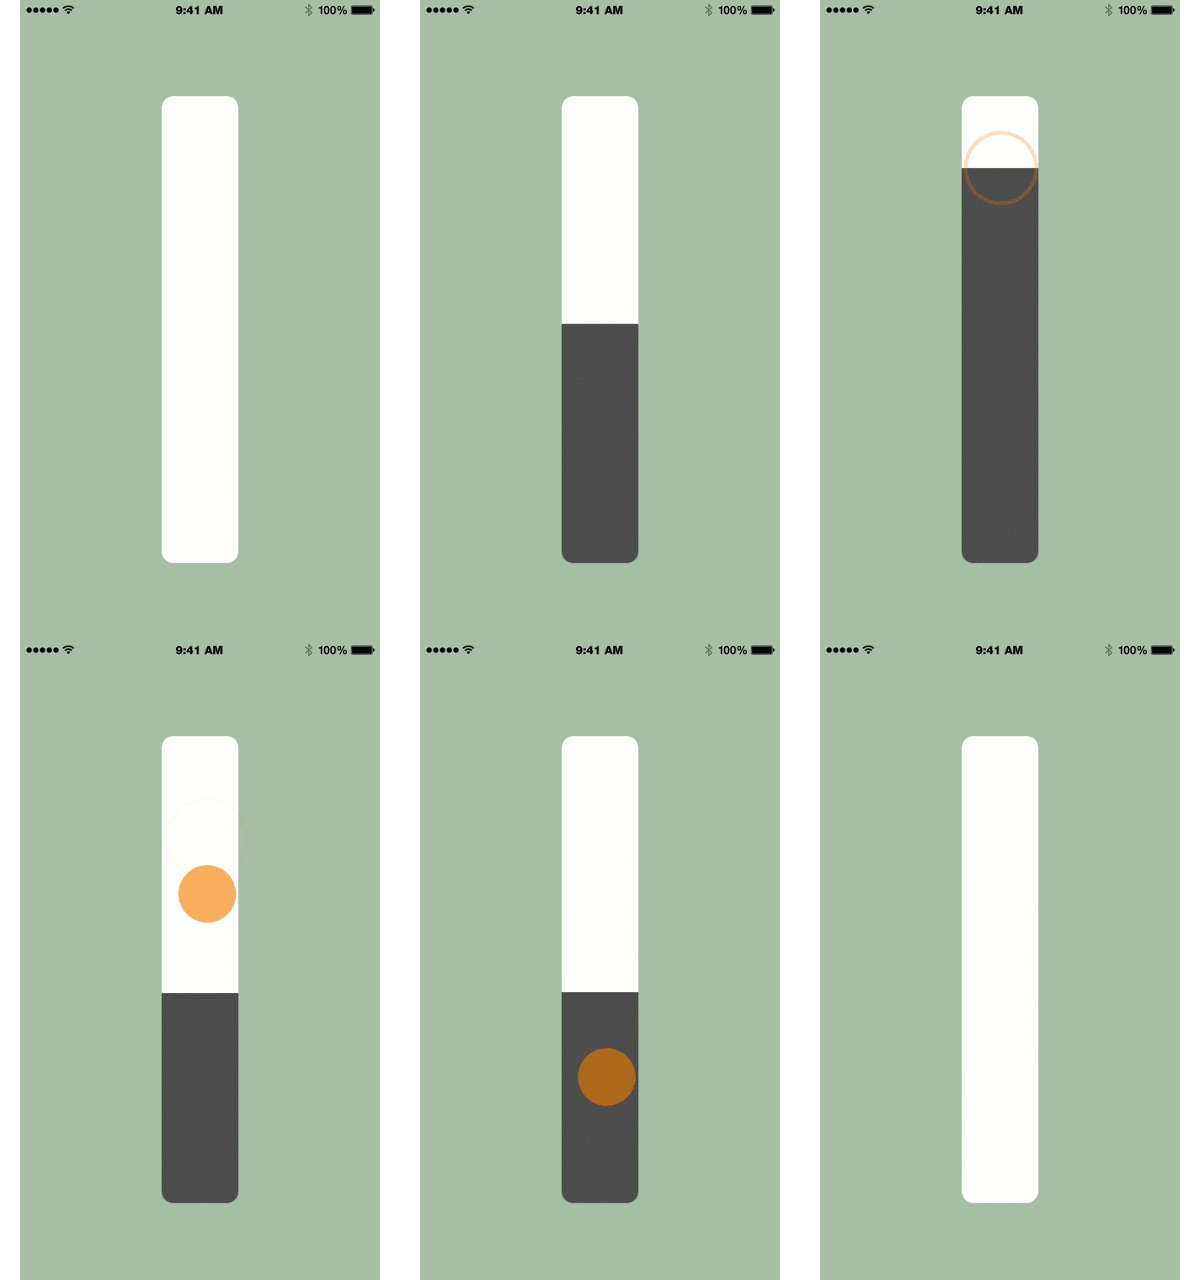
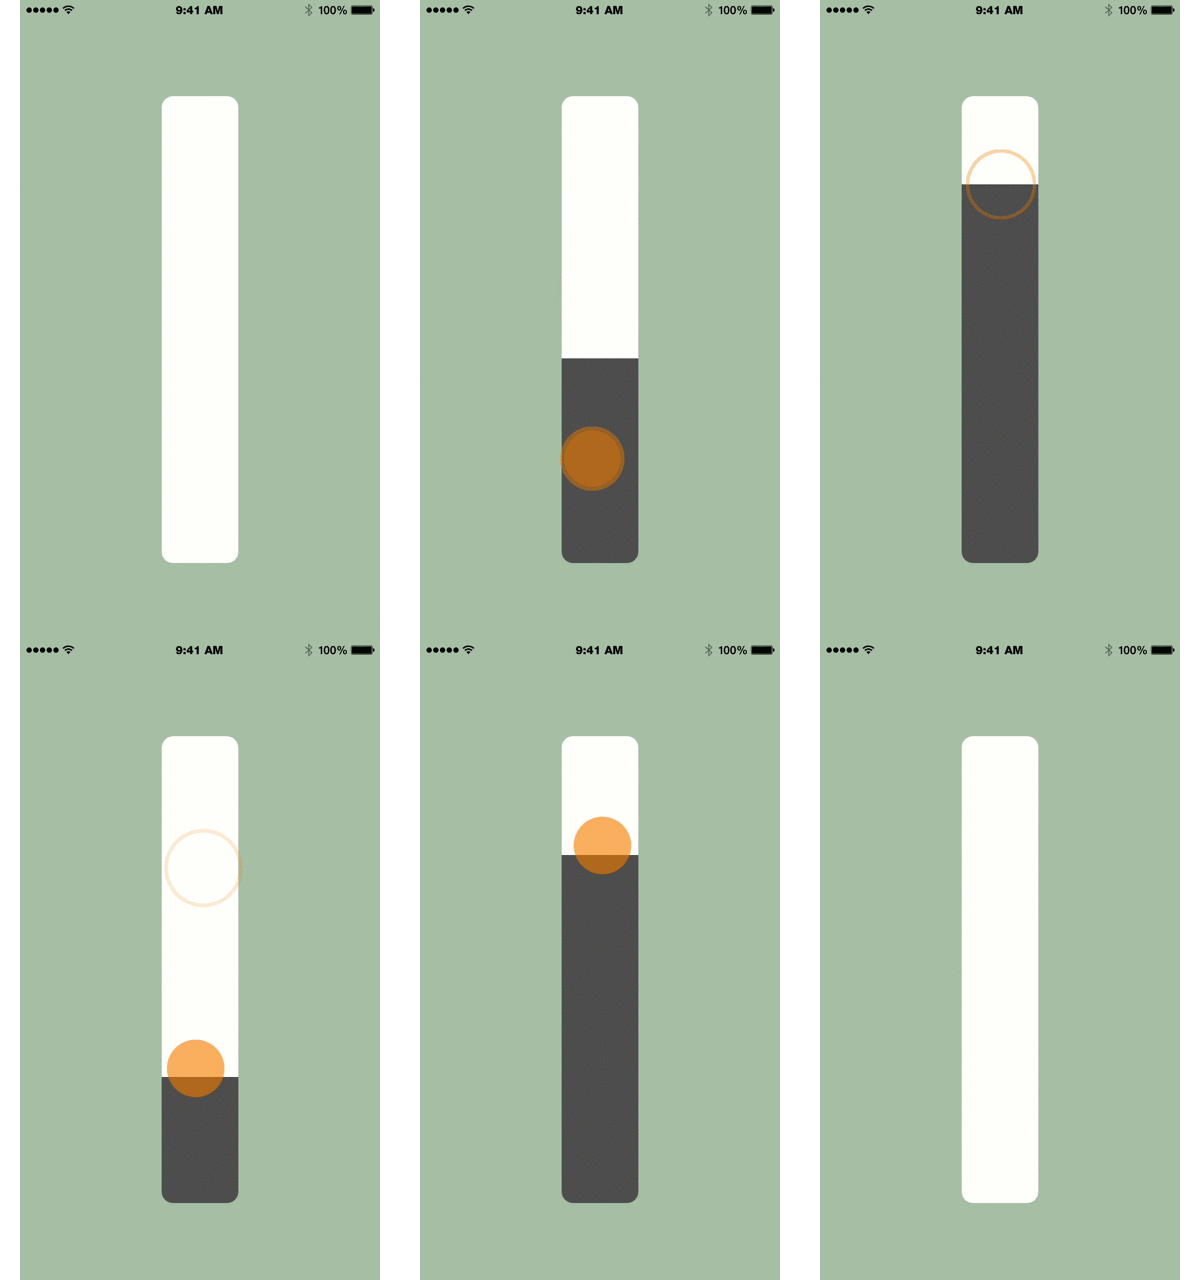
Consider an imaginary touch-based slider control for use in an audio app: you drag your finger up and down the control (let’s imagine it’s a vertical slider) and some aspect of the sound changes in direct response to the movements of your finger.
But if you lift your finger and touch down again some distance from your previous touch – that is, you cause the control to make a jump in values – the control’s display gently but swiftly animates to that new value… and so does the audio!
So how would you do something like that?
With Core Animation of course!
Yes, it’s true the Apple docs flatly declare (in the very first sentence of the Core Animation Programming Guide no less!):
“Core Animation is a graphics rendering and animation infrastructure available on both iOS and OS X that you use to animate the views and other visual elements of your app.” (my emphasis)
But, surprise surprise: Core Animation has the ability to animate any property – including non-visual properties!
Nick Lockwood published an article on the subject back in objc.io #12 (See, in particular, his final example where he creates an audio fade in/fade out by animating the volume property on an AVAudioPlayer).
This is a concept that can easily be taken further into sonic territory:
The subtle distinction here that is the audio ‘animation’ is not merely imitating the visual animation: the two animated responses are effectively one and the same!
Let’s take a look at how to set this up.
Setting Up a Basic Custom Slider Control
We’ll start by creating a custom control that behaves like most custom controls – indeed, like most of Apple’s built-in controls: discreet touches – whether or not they arrive solo or in rapid sequence – trigger discreet values.
Then, once we have that up and running, we’ll give our control the ability to do something remarkable: respond to discreet touches by triggering streams of values that animate from the control’s previous value and its new one.
Pull up a new Xcode project, set the language to Swift, and save it. Then create a new Cocoa Touch Class, make it a UIControl and call it MOJOSliderControl.
Now enter the following:
  class MOJOSliderControl: UIControl {

  // 1.
  var fillLayer = CALayer()
  var value : Float = 0.0 {
    didSet {
      self.sendActionsForControlEvents(.ValueChanged)
    }
  }

  required init(coder aDecoder: NSCoder)
  {
    super.init(coder: aDecoder)
    setup()
  }

  // 2.
  func setup()
  {
    self.backgroundColor = UIColor.whiteColor()
    self.clipsToBounds = true

    self.layer.cornerRadius = CGFloat(12.0)

    fillLayer.frame = CGRect(x: self.bounds.origin.x, y: self.bounds.size.height, width: self.bounds.size.width, height: 0)
    self.fillLayer.backgroundColor = UIColor.darkGrayColor().CGColor
    self.layer.insertSublayer(fillLayer, below: self.layer)
  }

  // 3.
  override func beginTrackingWithTouch(touch: UITouch, withEvent event: UIEvent) -> Bool
  {
    let newTouch = touch.locationInView(self)
    convertTouchToValue(newTouch.y)

    return true
  }

  override func continueTrackingWithTouch(touch: UITouch, withEvent event: UIEvent) -> Bool
  {
    let newTouch = touch.locationInView(self)
    convertTouchToValue(newTouch.y)

    return true
  }

  // 4.
  func convertTouchToValue(touchY: CGFloat)
  {
    // The new value based on touch location
    let valueForTouch = self.bounds.size.height - touchY
    // The normalized version of that value (mapping to 0-1 range)
    value = Float(valueForTouch / self.bounds.size.height)

    fillLayer.frame = CGRect(x: self.bounds.origin.x, y: self.bounds.size.height, width: self.bounds.size.width, height: -valueForTouch)
  }

}
This is pretty basic as custom controls go:
-
First, we declare two properties: a
CALayer(fillLayer) to act as visual indicator of the slider’s current value and aFloat(value) to represent the slider’s output value. We’re usingdidSetto forward an action to the slider’s target whenever the value of value changes. -
setup() handles initial layout of the slider by setting a few visual attributes on the control, its backing layer and fillLayer, then it adds fillLayer to the backing layer.
-
beginTrackingWithTouchandcontinueTrackingWithTouchhandle our touch tracking (both are inherited fromUIControl.) Note we’re only grabbing the Y values of our incoming touches since we’re restricting ourselves (for the purposes of this demo) to a vertically-oriented control. -
convertTouchToValue converts those incoming values to output values using the following strategy: first we subtract the touch’s Y value from the height of the control (so touch locations nearer the control’s origin yield higher output values), then we divide that value by the height of the control (so we end up with a value between 0 and 1) and, finally, we update value with the result and re-calculate fillLayer’s frame.
Remember: updating value will trigger an action on the slider’s target.
Now, let’s open ViewController and add a simple function for printing the control’s output values to the console:
  @IBAction func printValue(sender: MOJOSliderControl)
  {
    println("value = \(String(stringInterpolationSegment: sender.value))")
  }
With this in place, head over to the main storyboard and drag in a UIVIew. Give it some vertically-appropriate dimensions (mine are set to 80 x 100), position it in the center of the scene and give it some vertical and horizontal constraints to keep it there.
Then change its class, in the Identity Inspector, to MOJOSliderControl and connect it to ViewController’s printValue function.
Now run the app and give the slider a test run.

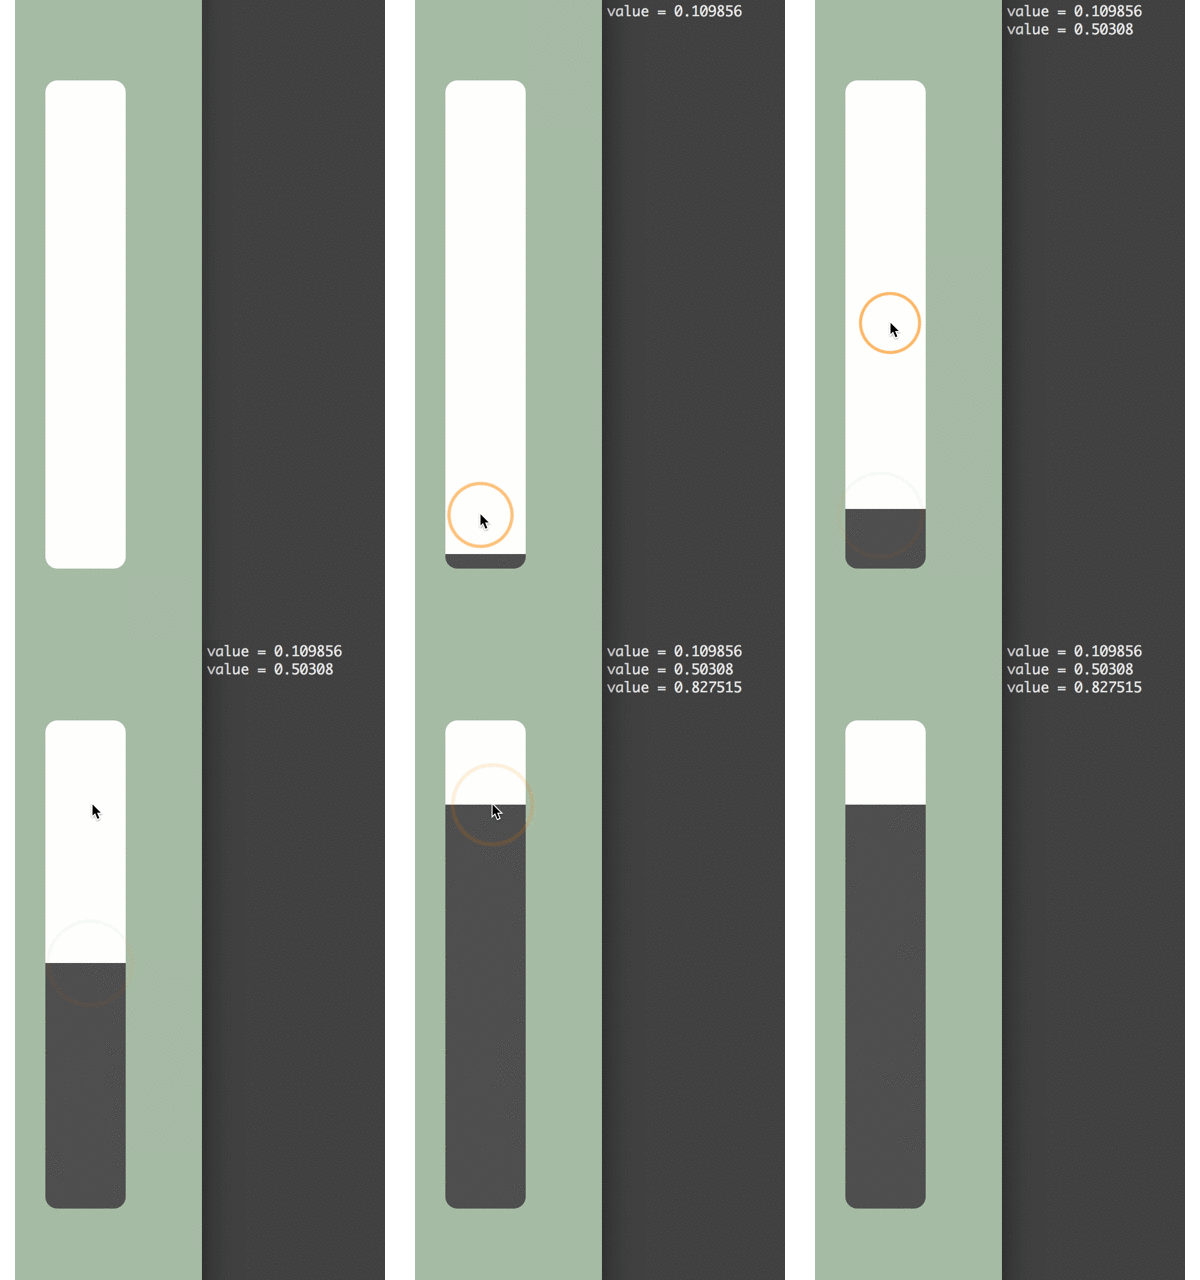
This isn’t a bad start: we have a working control that updates its target action when its value changes (you should be seeing a printout of the slider’s values in Xcode’s debug window.)
I’m not happy, though, with the implicit animations we’re getting from UIControl: the animations when you first touch down are OK, but the drag animations have way too much lag in them.
I’d like these different touch gestures to animate at different rates, so let’s fix that now.
Tweaking the Animations
Add the following two properties to MOJOSliderControl:
  var animationDur : CFTimeInterval!
  var animationTimingFunc : CAMediaTimingFunction!
Then this, to beginTrackingWithTouch:
    animationDur = 0.25 as CFTimeInterval // longer animation for initial touches
    animationTimingFunc = CAMediaTimingFunction(name: kCAMediaTimingFunctionEaseIn)
And this, to continueTrackingWithTouch:
    animationDur = 0.03 as CFTimeInterval // shorter animation for continuous dragging movements
    animationTimingFunc = CAMediaTimingFunction(name: kCAMediaTimingFunctionEaseIn)
Note the different animation durations for beginTracking (a quarter of a second when we first touch the control) and continueTracking (30 milliseconds each time we drag to a new location.)
Finally, surround the last line in convertTouchToValue, the one where we set fillLayer’s frame, with a CATransaction block, as follows:
    CATransaction.begin()
    CATransaction.setAnimationDuration(animationDur)
    CATransaction.setAnimationTimingFunction(animationTimingFunc)
    fillLayer.frame = CGRect(x: self.bounds.origin.x, y: self.bounds.size.height, width: self.bounds.size.width, height: -valueForTouch)
    CATransaction.commit()
This overrides our previous implicit animation transaction with an explicit one, using the duration and timing values passed in by whichever type of touch – beginning touch or continuous drag – is currently occurring.
Now, run the app again.

That feels much better!
And if we were to stop right there, we’d have ourselves a simple but perfectly usable custom slider control.
But you may have noticed: when you drag up and down on the slider, the values printing to the console update continuously; however, when you begin a new touch, the control’s output – despite the smooth visual animation – jumps directly to the new value.

This is the issue we began our discussion with.
Animating the Slider’s Output Values
The reason why the visuals animate but the output values do not is because, in reality, we are dealing with two different layer objects which are present in every instance of CALayer: the modelLayer, which is what you normally see on screen, and the presentationLayer which is what gets animated.
When an animation begins, the presentationLayer takes over the layer’s onscreen presentation and performs the animation. But once the animation completes, the presentationLayer goes away and is replaced by the modelLayer – which at this point is updated to the presentationLayer’s final value.
Like a little hat trick!
So the challenge becomes: how can we tap into the fillLayer’s presentationLayer to generate the same kind of frame-to-frame updates to our output value, as we’re getting with the visuals?
To do this we need to give some magical powers to fillLayer.
Customizing The Fill Layer
Create a new Cocoa Touch Class, call it FillLayer, make it a subclass of CALayer and give it the following four properties:
class FillLayer: CALayer {

  @NSManaged var animatedValue : Float
  dynamic var outValue : Float = 0.0

  var animDuration : CFTimeInterval!
  var animTimingFunc : CAMediaTimingFunction!

}
animatedValue is the thing we’re going to animate, and Swift requires the @NSManaged attribute to make that possible. But that means it won’t be observable from outside the layer – which is a problem because we intend to use KVO to have MOJOSliderControl observe the fillLayer‘s animated values.
Why won’t it be observable? Because to do so it would need to be tagged as dynamic, not @NSManaged.
Ah! but the catch: if it was dynamic it wouldn’t be animatable.
(This behavior is in contrast to Objective-C, where @dynamic has a different meaning and can accomplish the same thing we’re doing here, but with a single property.)
To get around this, we declare a second property – outValue – and tag it as dynamic. Then we’ll use our @NSManaged property’s animated values to update our dynamic property!
The other two properties, animDuration and animTimingFunc, are for holding the layer’s animation duration and timing values, which will be passed in by MOJOSliderControl.
Next up: our Init() method, where we set animDuration and animTimingFunc to their intial values:
  override init(layer: AnyObject!)
  {
    super.init(layer: layer)

    if let layer = layer as? FillLayer {
      animatedValue = layer.animatedValue
    } else {
      animatedValue = 0.0
    }
    animDuration = 0.25 // default
  }
Finally, there are three CALayer methods we need to override: actionForKey, needsDisplayForKey and display. Add them to the bottom of the file:
  override func actionForKey(key: String!) -> CAAction!
  {
    if key == "animatedValue" {
      var animation = CABasicAnimation(keyPath: key)
      animation.duration = animDuration
      animation.timingFunction = animTimingFunc
      animation.fromValue = (self.presentationLayer() as! CALayer).valueForKey(key)

      return animation
    }

    return super.actionForKey(key)
  }

  override class func needsDisplayForKey(key: String!) -> Bool
  {
    if key == "animatedValue" {
      return true
    }
    return super.needsDisplayForKey(key)
  }

  override func display()
  {
    self.outValue = self.presentationLayer().animatedValue
  }
actionForKeydefines an animation for the key “animatedValue”, using the timing and duration values passed in by MOJOSliderControl. Notice in particular that the animation’sfromValueis being grabbed from the presentationLayer, which is where the animation actually takes place.needsDisplayForKeyreturns a flag indicating to the system that the layer needs to be redrawn, which in turn triggers a call todisplay; anddisplaysets our observable outValue to the current value of animatedValue. Note, again: it is the presentationLayer that is updating outValue.These functions will be called at each step in the animation!
We now need to integrate the custom layer with our control. Head back over to MOJOSliderControl and change fillLayer’s type to our new layer class:
var fillLayer = FillLayer(layer: CALayer())
Then add the following getters and setters to our duration and timing properties:
  var animationDur : CFTimeInterval!
  {
    get { return fillLayer.animDuration }
    set { fillLayer.animDuration = newValue }
  }

  var animationTimingFunc : CAMediaTimingFunction!
  {
    get { return fillLayer.animTimingFunc }
    set { fillLayer.animTimingFunc = newValue }
  }
Next, scroll down to convertTouchToValue, locate this line:
value = Float(valueForTouch / self.bounds.size.height)
And replace it with:
let valueToAnimate = Float(valueForTouch / self.bounds.size.height)
Finally, add the following assignment on the next line:
self.fillLayer.animatedValue = valueToAnimate
In Summary: we’re taking the output value calculated by MOJOSliderControl for the current touch and passing it to FillLayer (where an animation will be triggered from the previous value to this new value); then we’re going to have MOJOSliderControl observe those animated changes, updating its value property (and forwarding an action to its target) at each step of the way.
That’s it for setting up our custom layer and integrating it with the control.
The last thing we need to do is make MOJOSliderControl an observer of changes to fillLayer’s outValue property.
Observing the Animated Output Values
At the top of MOJOSliderControl.swift, just below the existing properties, add a new private property:
private var outValueContext : UInt8 = 1 // KVO context
Then, in Init(), add the following line just before the call to setup():
fillLayer.addObserver(self, forKeyPath: "outValue", options: .New, context: &outValueContext)
We need to make sure the observer is removed if our slider object ever gets deallocated, so add the following deInit() method, following Init():
fillLayer.removeObserver(self, forKeyPath: "outValue")
And finally, add a new method – just after setup() – to implement the observation of outValue and update value whenever it changes:
override func observeValueForKeyPath(keyPath: String, ofObject object: AnyObject, change: [NSObject : AnyObject], context: UnsafeMutablePointer)
  {
    if context == &outValueContext {
      self.value = fillLayer.outValue
    }
  }
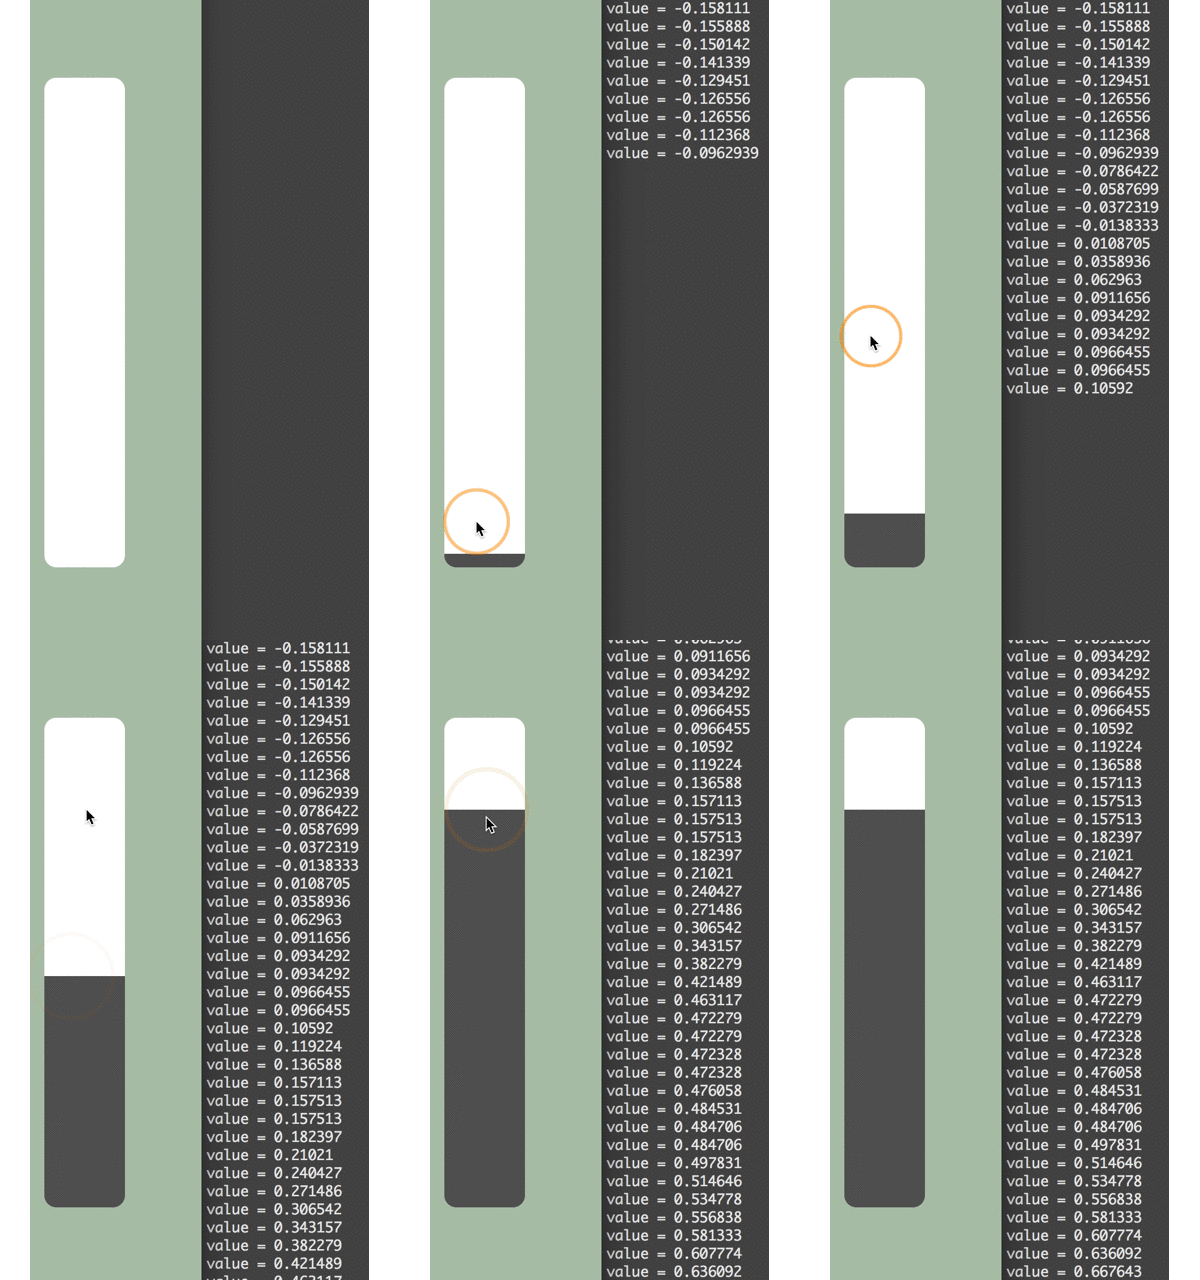
Run the app again and have look at the console output:

So there you have it: a simple, easily-modifiable custom slider control. And not just for audio, obviously.
Hook it up to something you love!
Github project can be found here
A MOJO LAMA shout-out goes to adamwulf for bluedots.